Congratulations on your new iPhone. If this is your first smartphone, you are in good company. Pew Research Center reports that 61% of Americans 65 and older now own a smartphone. The setup may feel like a lot, but Apple designed the iPhone to guide you one screen at a time. You do not need to be a tech expert. You only need a little patience, your Wi-Fi password, and about half an hour. This guide walks through each step in plain language.
Before you open the box, gather a few things. You need your home Wi-Fi name and password. You also need an email address if you plan to create an Apple ID. If you have an old phone, keep it nearby and plugged in. A backup of that old phone is very helpful. If you are switching from Android, our guide on how to set up an Android phone can help you prepare your Google account. That way your contacts and photos move over more easily.
Do not worry about making a mistake during setup. Almost every screen can be changed later in the Settings app. For example, you can adjust text size, notifications, and sounds after you finish. The important thing is to take it slow. Read each screen before you tap. If you get stuck, you can restart the iPhone by holding the side button and either volume button until the power-off slider appears. You can then turn it back on and start again. The process is designed to be forgiving.
What You’ll Need
- Old phone backup
- Wi-Fi password
- Apple ID or email address
- Charging cable and power adapter
- SIM card or eSIM activation from carrier
How Do You Best iPhone Setup Guide?
- Back up and prepare your old phone
Start with your old phone, not the new one. Think about the photos, contacts, and messages you want to keep. If your old phone is an iPhone, open Settings, tap your name at the top, then tap iCloud, then tap iCloud Backup. Tap Back Up Now and wait for the backup to finish. If you skip this step, you can still set up the new phone, but you may lose important data. A backup is your safety net.
If your old phone is an Android, open the Google app and go to Settings. Look for Backup or Google One. Make sure contacts, photos, and calendar events are backed up to your Google account. You will need that Google account email and password during the iPhone setup. Take a moment to write down your old phone’s backup password or Apple ID password if you need to. Keep that note somewhere safe.
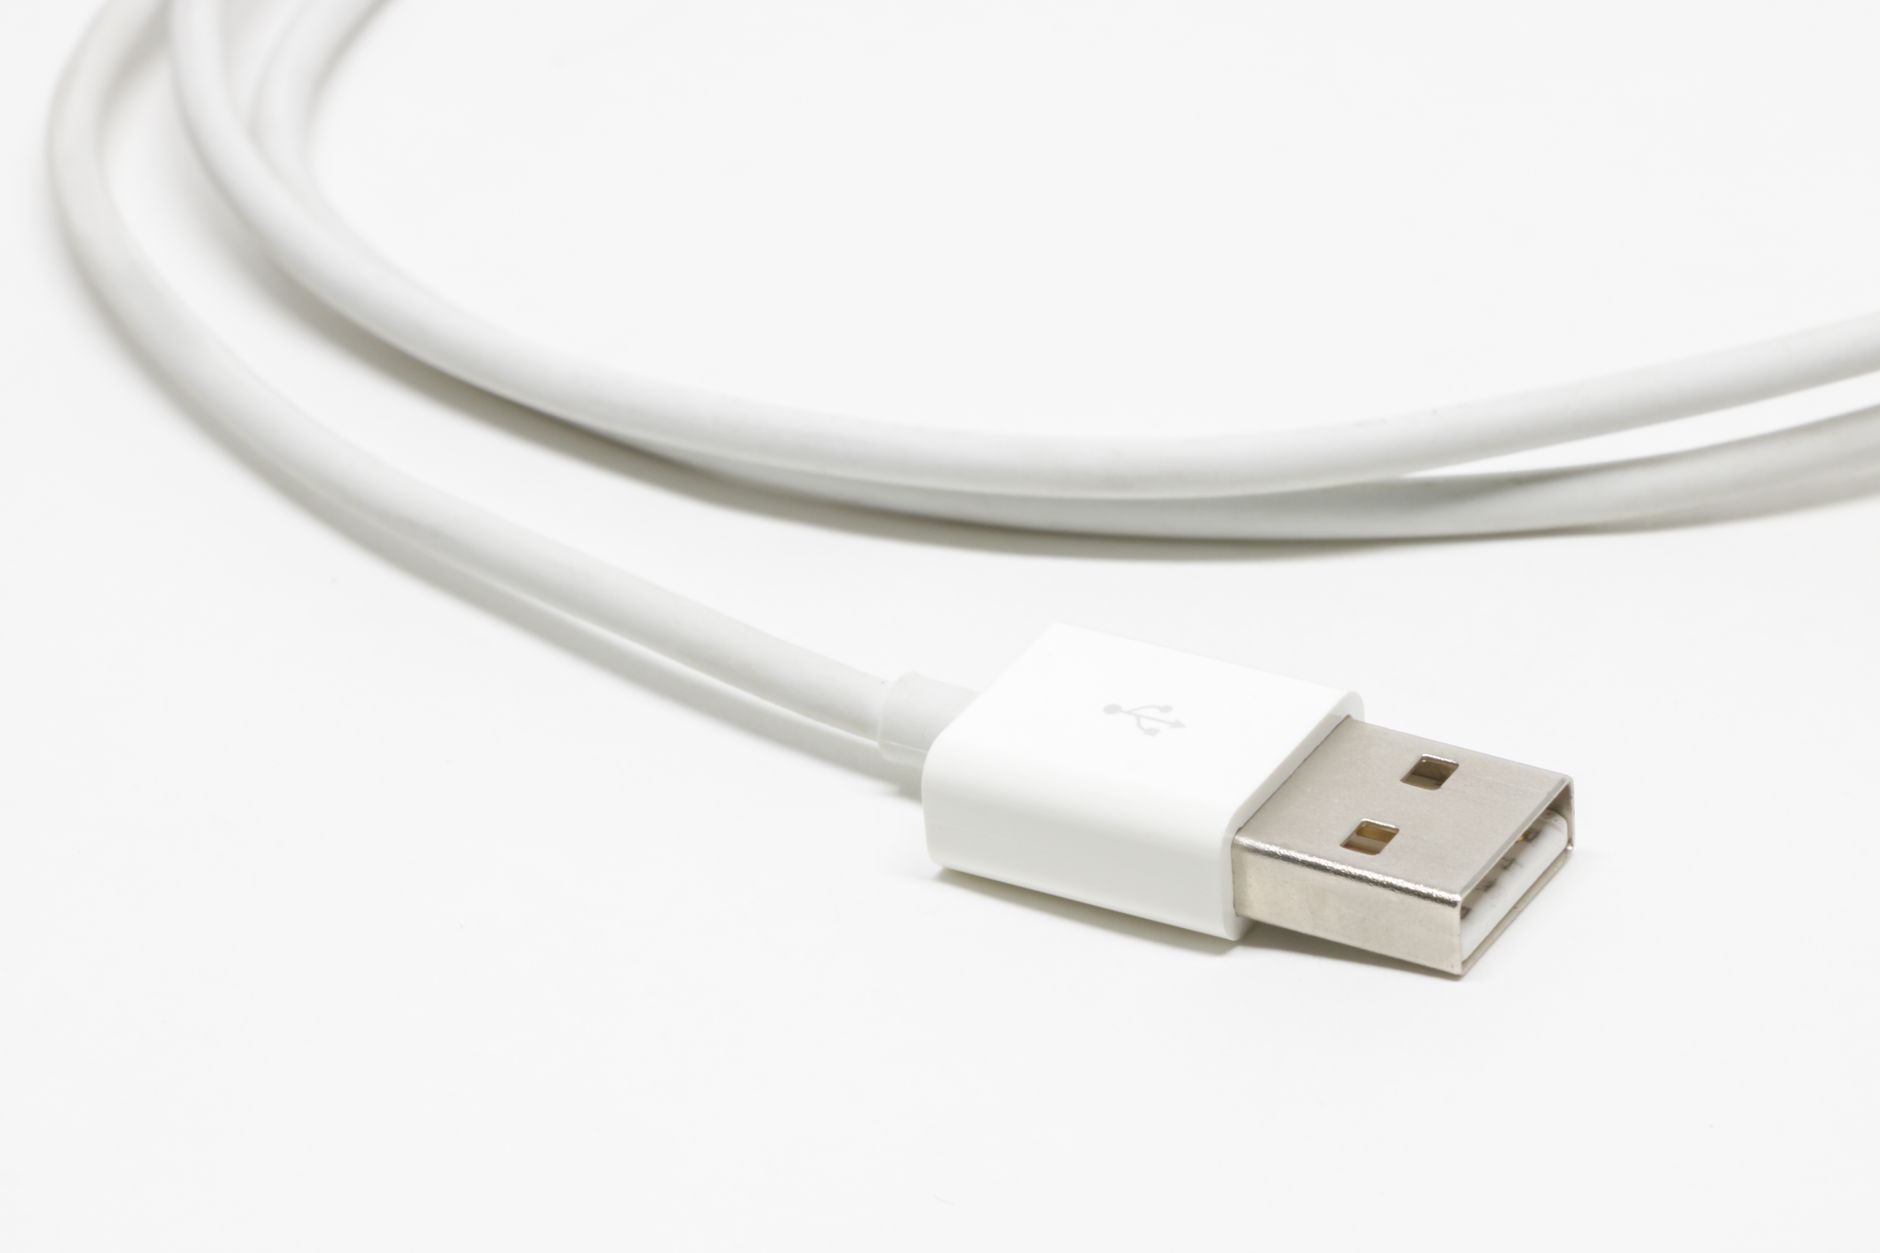
Also gather the accessories that came in the iPhone box. You need the USB-C charging cable and a power adapter. Plug the iPhone into power before you start. A low battery during setup can cause the phone to turn off in the middle. If you bought a case or screen protector, wait until after setup to apply them. You want the screen and buttons fully accessible while you follow the prompts.
- Turn on the iPhone and start Quick Start
Press and hold the side button on the right edge until you see the Apple logo. The side button is the long button, not the volume buttons. If the phone does not turn on, make sure it has been charging for at least ten minutes. Once the screen lights up, you will see a Hello screen in many languages. Swipe up from the bottom when you see the Hello screen. This starts the setup assistant.
If you have an old iPhone running iOS 11 or later, put it next to the new iPhone. A Quick Start screen should appear on the old phone. Follow the prompts to pair the two phones using the camera. Quick Start transfers your Wi-Fi settings, Apple ID, and some preferences automatically. This can save you a lot of typing. If you do not have an old iPhone, tap Set Up Manually on the new phone. That is perfectly fine for this guide.
Some people need larger text or a spoken screen reader. Apple includes accessibility options right on the first screens. Tap the blue accessibility button on the Hello screen or during setup to turn on VoiceOver, Zoom, or larger text. You can also adjust text later. For help with that, read how to increase text size on phone. Take your time. There is no timer on any screen.
- Connect to Wi-Fi and activate
Choose your home Wi-Fi network from the list. Tap the name and type the password carefully. Passwords are case sensitive, so watch for capital letters. If you cannot see your network, tap Other and enter the name manually. A strong Wi-Fi connection is needed for activation and for downloading apps later. If you do not have Wi-Fi, you can tap Use Cellular Connection if your SIM card is already installed.
After you join Wi-Fi, the iPhone contacts Apple to activate. Activation usually takes a minute or two. You may see a screen that says Activation Lock. That happens if the phone was previously owned and not erased properly. If you bought the phone used, contact the seller or learn how to spot a tech support scam before giving anyone remote access to your device. Apple will never call you and ask you to pay a fee to activate an iPhone.
If activation fails, check that your Wi-Fi router is on and that other devices can get online. You can also try restarting the iPhone. If you still have trouble, contact your carrier or Apple Support through the official Apple website. Do not search for Apple Support phone numbers in a web browser, because many scam numbers appear there. Always start at apple.com.
- Set up Face ID or Touch ID and create a passcode
The iPhone will ask you to set up Face ID or Touch ID. Face ID uses the front camera to recognize your face. Touch ID uses your fingerprint on the Home button or the power button, depending on the model. Follow the on-screen instructions to move your face slowly around the circle or to lift and rest your finger several times. This takes less than a minute and makes unlocking the phone much easier.
Next, create a six-digit passcode. You can choose a four-digit or a custom alphanumeric code by tapping Passcode Options. Avoid simple codes like 123456 or your birthday. A passcode protects your private data if the phone is lost. Do not share this passcode with anyone you do not fully trust. If you forget it later, you may need to erase the iPhone to get back in.
Face ID and Touch ID are optional. You can tap Set Up Later and still use a passcode. But I recommend setting at least one biometric option now. It makes unlocking the phone while wearing glasses or in bright light much easier. These settings can be changed later in Settings under Face ID & Passcode or Touch ID & Passcode. There is no reason to worry about choosing wrong here because you can always redo it.

- Sign in with your Apple ID or create one for free
Your Apple ID is the account you use for iCloud, the App Store, FaceTime, and Find My iPhone. If you already have an Apple ID from an old iPhone, iPad, or Mac, enter that email address and password. If you forgot your password, tap Forgot Password and follow the steps. You can also reset it at iforgot.apple.com using a computer. Do not create a new Apple ID if you already have one, because that splits your purchases and backups.
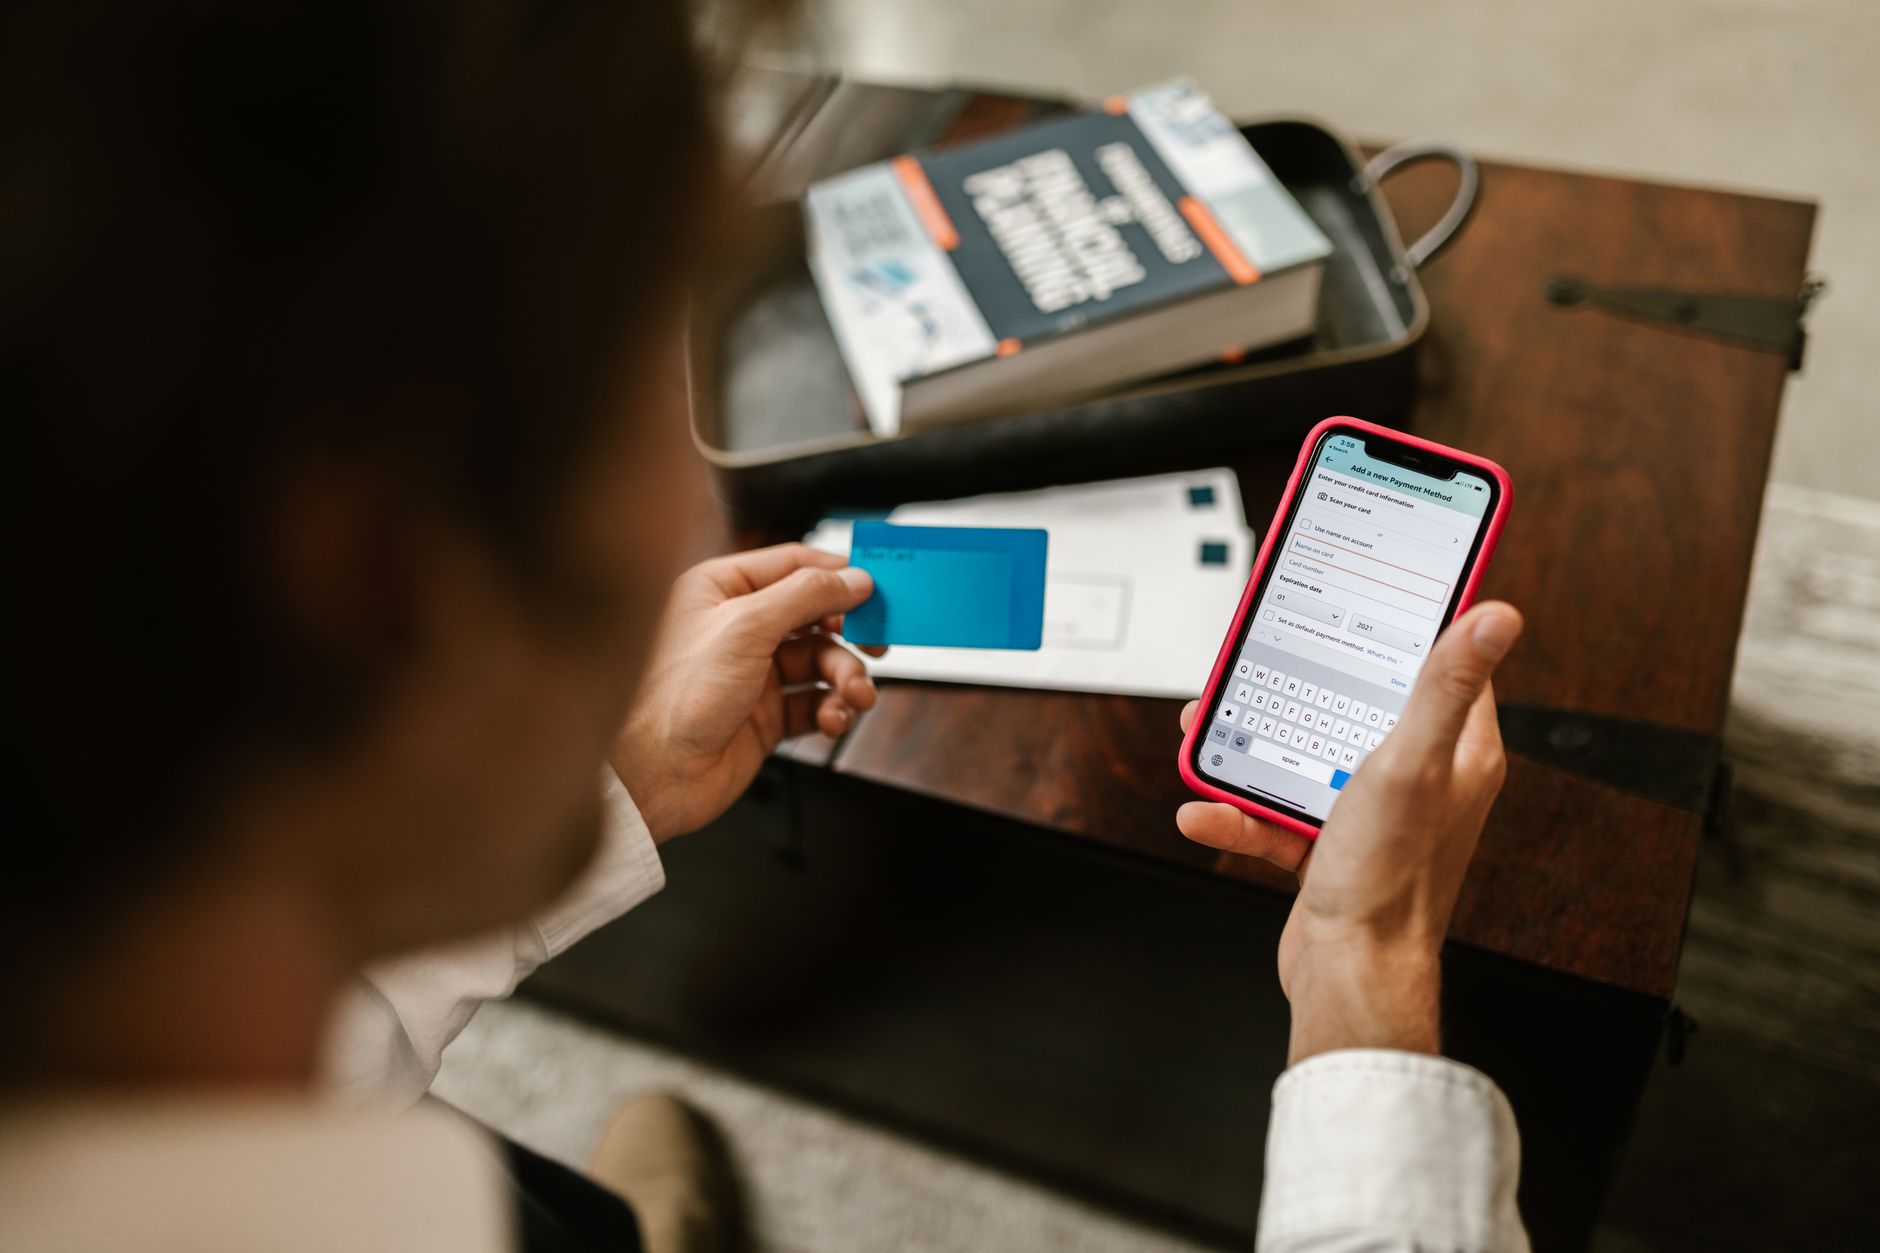
If you have never had an Apple ID, tap Don’t have an Apple ID or Forgot password and then choose Create New Apple ID. You will enter your name, birth date, and email address. You also create a password. The password should be at least eight characters with a mix of letters and numbers. Our guide to password safety for seniors has tips for creating and storing passwords safely. When asked for a payment method, you can choose None if you do not want a card on file.
After you sign in, the iPhone may ask you to agree to Apple’s terms and conditions. Read the summary if you wish, then tap Agree. You may be asked to set up iCloud, Find My, and two-factor authentication. Turn these on. They help you find a lost iPhone and protect your account from being accessed by someone else. Two-factor authentication means a code is sent to a trusted device or phone number when you sign in on a new device. This is one of the strongest protections you can enable.
- Transfer your apps, photos, and data
Now you decide what to bring over from your old phone. You have a few options. You can restore from an iCloud backup, restore from a computer backup, transfer directly from your old iPhone, move data from Android, or set up as a new iPhone with nothing transferred. Choose the option that matches your situation. If you want a clean start, tap Don’t Transfer Apps & Data. You can always download apps later.
If you have an old iPhone, the easiest path is Transfer Directly. Keep both phones plugged in and next to each other. Apple’s official support pages recommend keeping the devices close together and connected to power during a direct transfer. The screen will show an estimated time. It can take anywhere from ten minutes to over an hour, depending on how many photos and apps you have. Do not interrupt the transfer once it starts.
If you are coming from Android, tap Move Data from Android. You will install an app called Move to iOS on the Android phone and enter a code from the iPhone. This moves your Google contacts, messages, photos, and some apps. After the transfer, your photos live in the Photos app on the iPhone. Later, you can back them up to a computer. Our guide on how to transfer photos from phone to computer walks through that process when you are ready.
- Update iOS and finish setup
Once the transfer finishes, the iPhone may show a progress bar while it installs apps and data. Do not press any buttons during this time. When you reach the Home Screen, open Settings, then General, then Software Update. If an update is available, tap Download and Install. Apple releases updates to fix bugs and protect against security threats. Staying current is one of the easiest ways to keep personal information safe.
Next, finish a few optional but useful settings. You can set up Siri by going to Settings > Siri & Search. Siri lets you use your voice to make calls, send texts, and set reminders. If you use video calling, open the FaceTime app and sign in with your Apple ID. Our guide on how to make a FaceTime call shows you how to call family and friends face to face. You can also adjust text size and display brightness in Settings > Display & Brightness or Settings > Accessibility.
Finally, plug the iPhone in overnight to let it finish iCloud backups and photo syncing. Set a reminder to back up weekly. You can do this in Settings > your name > iCloud > iCloud Backup. Now your iPhone is ready to use. If you ever need help with video calls, our video call troubleshooting guide covers common problems. Enjoy your new phone and take it one step at a time.
Red Flags & Warnings
- 🚨 Do not skip the backup of your old phone. You could lose years of photos and contacts if the transfer fails.
- 🚨 Never share your Apple ID password or the six-digit verification code. Apple will never ask for these by phone, text, or email.
- 🚨 Watch out for fake Apple Support calls. Scammers claim your iCloud is locked and ask for payment or remote access. Apple does not call you about activation. AARP reports that older adults lose billions to fraud every year.
- 🚨 Use only official Apple or MFi-certified charging cables and adapters. Cheap no-name cables can overheat and damage your battery.
- 🚨 Avoid public Wi-Fi during setup. Use your home network or a trusted password-protected network to prevent someone from intercepting your data.
- 🚨 If a website or pop-up says your iPhone has a virus and asks you to call a number, it is a scam. Close the page and do not call.
Frequently Asked Questions
Do I need a SIM card to set up a new iPhone?
No, you can set up the iPhone using Wi-Fi only. To make phone calls or use cellular data later, you need to insert a SIM card or activate an eSIM through your carrier.
What if I don't have an Apple ID?
You can create a free Apple ID during setup. Tap Don’t have an Apple ID, fill in your email, and choose None as the payment method if you do not want a card on file.
Can I skip Face ID or Touch ID?
Yes. Tap Set Up Later when prompted. You can still set a passcode, and you can add Face ID or Touch ID later in Settings.
How long does iPhone setup take?
Basic setup without transferring data takes about 20 minutes. Transferring photos, apps, and messages from an old phone can take 30 minutes to over an hour.
What if I get stuck on the activation screen?
Make sure Wi-Fi is working and the SIM card is inserted. Restart the iPhone by holding the side button and either volume button, then slide to power off. If it still fails, contact your carrier or Apple Support through apple.com.
Do I need to update iOS right away?
Not always, but it is a good idea. Go to Settings > General > Software Update after setup. Updates fix security problems and improve performance, so install them when you can.
What Should You Remember?
- Back up first: Save your old phone’s photos, contacts, and messages before you start.
- Charge both phones: Keep the old and new iPhone plugged in during setup and transfer.
- Use a strong passcode: Choose a six-digit code that is not easy to guess, and never share it.
- Sign in with Apple ID: This unlocks iCloud, App Store, and Find My iPhone.
- Transfer data directly: Place old iPhone near new one for Quick Start or use Move to iOS from Android.
- Update after setup: Check Settings > General > Software Update to install the latest iOS.
- Beware of scams: Apple never calls to ask for passwords, codes, or payment for activation.
This article is for general informational purposes only and is not medical, financial, or professional advice. Statistics and product details change, so verify current figures with the cited source before acting. Some links may be affiliate links that support this site at no cost to you.